How to Set Up Solar Power for an RV (Beginner’s Guide)
Quick answer: there are two ways to set up solar power for an RV. The easy way is an all-in-one power station paired with portable solar panels — no wiring, no installation, just plug in and go. The traditional way is a hard-wired system: roof-mounted panels, a charge controller, a battery bank, and an inverter. For most beginners, the power station approach is far simpler and just as capable for typical needs. Here’s how both work.
RV solar can seem intimidating, but the core idea is simple: panels capture sunlight, a controller feeds it into a battery, and an inverter turns it into the AC power your appliances use. Let’s break down both approaches so you can choose the right one.
The two approaches to RV solar
Approach 1: Power station + portable panels (the easy way)
A portable power station already contains the battery, charge controller, and inverter in one box — so you just add solar panels and you have a complete solar system. Set the folding panels in the sun, plug them into the station, and it charges. Plug your devices and appliances into the station’s outlets, and you’re running on solar.
Pros: No installation or wiring, no electrical knowledge needed, portable (take it out of the RV), and expandable. Cons: Portable panels need to be set out and aimed; capacity is limited by the unit (though expandable models scale up). Best for: Most RVers, beginners, and anyone who wants simplicity. See Best Power Station for Van Life and Best Solar Setup for Boondocking.
Approach 2: Traditional installed system (the hard-wired way)
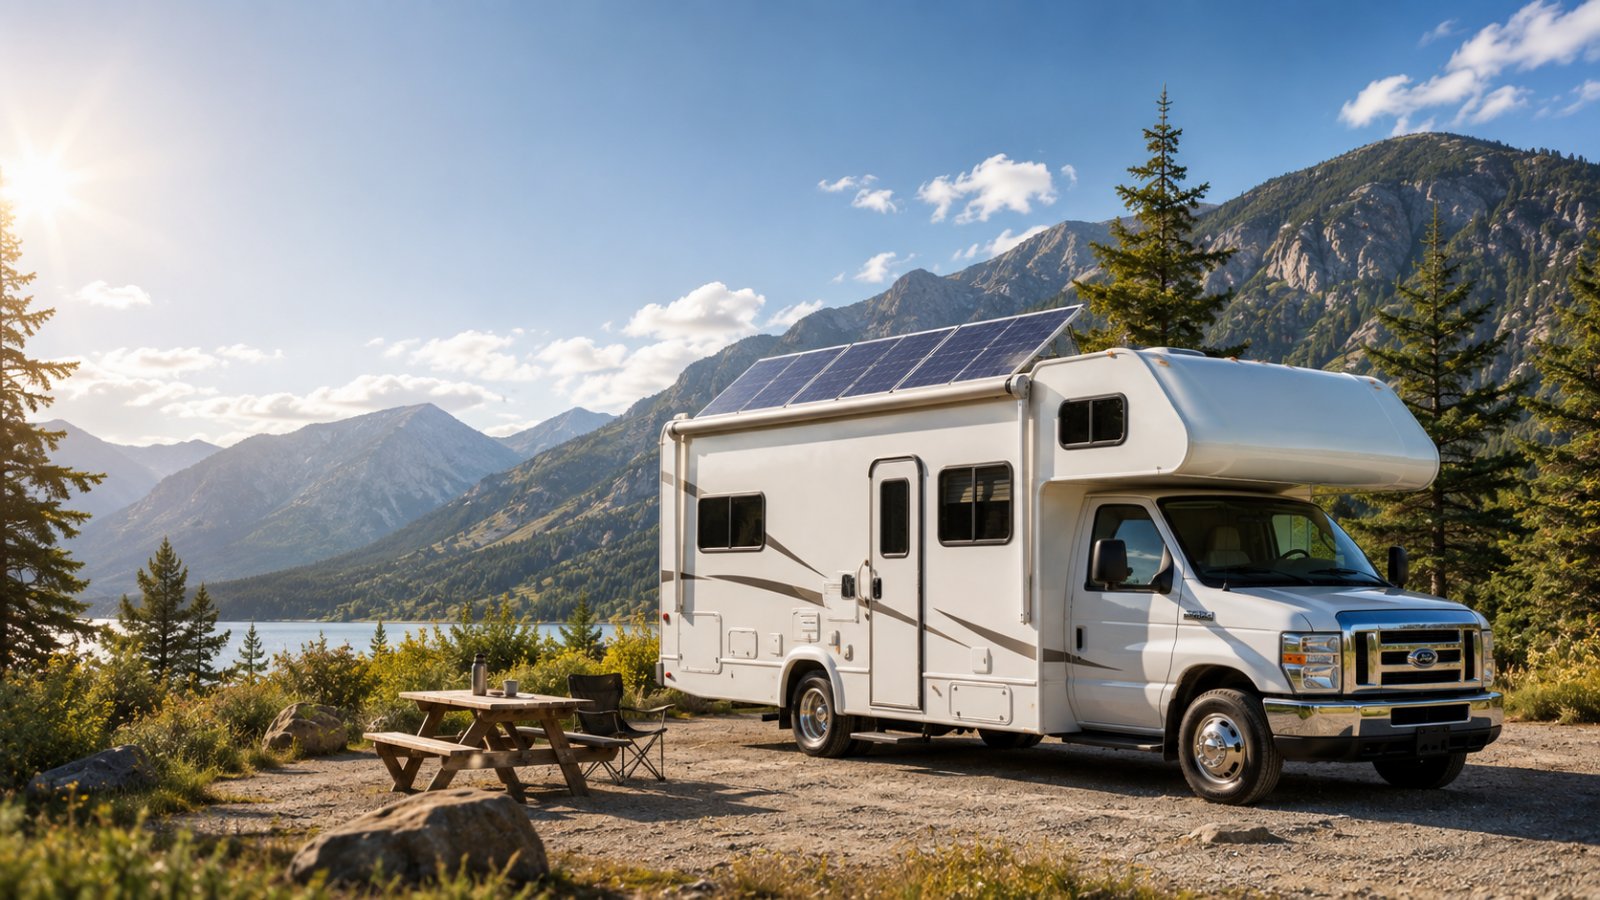
A traditional RV solar system wires roof-mounted panels through a charge controller into a battery bank, with an inverter to produce AC power. It’s permanently installed and charges passively whenever the sun’s out — even while you drive.
Pros: Charges automatically without setting out panels, can be sized very large, panels are out of the way on the roof. Cons: Requires installation (DIY skills or a professional), wiring, and more upfront complexity and cost. Best for: Full-timers, large rigs, and those wanting a permanent, hands-off system.
Many RVers actually combine both: a modest installed system plus a portable power station and panels for flexibility.
The components explained
Whichever approach you choose, these are the pieces (a power station combines the last three into one box):
Solar panels — capture sunlight and produce DC electricity. Portable (folding) or rigid (roof-mounted). Sized in watts.
Charge controller — regulates the power from the panels into the battery safely and efficiently. MPPT controllers (in quality units) maximize harvest.
Battery — stores the energy. LiFePO4 is the modern standard for its long life. Sized in watt-hours (Wh) or amp-hours (Ah).
Inverter — converts the battery’s DC power into the 120V AC power your appliances use. Sized in watts.
How to size your RV solar system
Match the system to your usage in three steps:
1. Estimate your daily energy use. Add up your 12V fridge (~0.5–1 kWh/day), lights, water pump, fan, and device charging — most RVs use 1–3 kWh a day boondocking.
2. Size your battery to cover a day or two of that use (so a cloudy day doesn’t leave you dark): 1,000–2,000 Wh for most, more for heavy users.
3. Size your solar to recharge the battery in a day of good sun: typically 400–800 W of panels. Our guide How Many Solar Panels to Charge a Solar Generator? has the full math.
Portable vs roof-mounted panels
Portable (folding) panels let you park in the shade and put the panels in the sun, and you can aim them for maximum harvest — but you have to set them out and bring them in. Roof-mounted (rigid) panels charge automatically while parked or driving and are out of the way, but they’re fixed at your roof’s angle and can’t chase the sun. Many RVers use roof panels as a passive base plus portable panels to boost harvest when parked.
A simple setup, step by step (power station approach)
- Choose a power station sized to your daily needs (with an expansion option if you’ll grow).
- Get solar panels matched to the unit’s maximum solar input.
- Connect the panels to the station’s solar input with the included cable (an adapter if mixing brands).
- Place the panels in direct sun, angled toward it, away from shade.
- Plug your devices and appliances into the station’s outlets.
- Monitor and adjust via the app or display, repositioning panels through the day for best harvest.
That’s it — no wiring, no installation. For a hard-wired system, the same components are installed permanently, which is best left to someone with RV electrical experience or a professional.
Limitations and who this isn’t for
An RV solar setup is only as good as its weakest part — panels, charge controller, battery and inverter all have to match, and roof space and shade limit what you can generate. This is an overview, not wiring instructions; DC electrical work carries real fire and shock risk, so have complex installs checked by a qualified installer. Expect real output well below panel ratings.
How we source this guide: capacities, runtimes and prices are drawn from manufacturer documentation and reputable public sources and can change. Always confirm current specifications and pricing on the manufacturer’s website before buying.
Frequently asked questions
How do I set up solar power for my RV? The easiest way is a portable power station paired with folding solar panels — plug the panels in, set them in the sun, and run your devices off the station, with no wiring. The traditional way installs roof panels, a charge controller, a battery bank, and an inverter.
How many solar panels do I need for an RV? Typically 400–800 W, matched to your daily energy use (1–3 kWh boondocking) and your battery’s solar input. Heavy users or those in cloudy regions should size up.
Do I need a special battery for RV solar? LiFePO4 is the recommended modern choice for its long life (3,000–4,000+ cycles) and safety. A power station already includes a LiFePO4 battery, charge controller, and inverter in one unit, simplifying the setup.
Can I run my RV fridge on solar? Yes. A 12V RV fridge draws only ~40–60 W on average, so a modest solar-and-battery setup runs it indefinitely in good sun. See How to Power a Fridge While Camping.
Is a power station or a traditional RV solar system better? For most beginners, a power station is better — no installation, portable, and expandable, with plenty of capability. A traditional installed system suits full-timers and large rigs wanting a permanent, hands-off, high-capacity setup.
The bottom line
Setting up solar power for an RV is far simpler than it sounds, especially with the power station approach: pair an all-in-one unit with portable panels, set them in the sun, and you’re running on solar — no wiring required. If you want a permanent, hands-off system, the traditional roof-mounted setup (panels, charge controller, battery, inverter) is the route, best installed by someone with RV electrical experience. Either way, size your battery to cover a day or two and your solar to recharge it daily, and your RV runs on quiet, renewable power wherever you roam.